
Showing posts with label Recycle. Show all posts
Showing posts with label Recycle. Show all posts
Wednesday, June 20, 2012
Chicken Sweater
Today was hot, yesterday was hot, tomorrow is supposed to be hot. With all this heat and no end in sight, I've found that I need a nice cool afternoon project. I've taken to crocheting. Not the big winter blanket crocheting, but little 1 day projects. Chicken sweaters have taken over my afternoons. I will admit I love it. I have been using up some random balls of yarn, and it has been fun using up the different colors. Caution: Do NOT use red chickens are attracted to the color red and will pick at it. Here is the pattern I found: http://barnyardsandbackyards.org/2011/02/03/chicken-sweaters .
 What a good sport Katniss was to pose in a sweater for us.

Wednesday, June 13, 2012
Upcycled Chicken Coop
I'm very excited! The Little Upcycled Coop was finished today. The only thing we bought is 3 boxes of screws costing around $21. Everything else was reused, and well FREE. That in its self is exciting. I will warn you now. It will not win the cutest coop of the year award, but it might just win the cheapest coop of the year award. Check out the other blog posts on our little coop if you would like to see the beginning steps involved in building this coop.
Today's first step was setting up the walls.
 I was on babysitting duty since my husband needed help. They used screws to tie the pallets together on the long sides.
 Next they installed the window that will serve as my door. Sorry I couldn't get a picture. Then they ran 2x4x10's along the top, and screwed the tin roofing to the 2x4's. Here is a picture of the finished coop.


Today's first step was setting up the walls.


One cute Little Upcycled Coop. The chicks aren't living there yet, I still have to put fencing up. I hope this project gave you some ideas on making you own upcycled coop.
The Small Tale of the Moody Broody
 |
| Moody Broody after I counted her eggs today. |
 |
| Here is the nesting box curtain. Moody Broody is behind it happily setting on her eggs. |
Saturday, June 9, 2012
Phone book Firelog
Around here we have 4 different phone books, two for our area, and two for the neighboring big city. Every year we get new phone books and this year we even received repeats. I hate throwing things away you should know that by now =) So I found a way to reuse the phone books. I personally don't have a fireplace, but I know plenty of people that do. I rip off the covers and any glossy pages roll them up and tie them with string. We've have burned a few phone books in our burn pile and they burn forever. I'm sure these will to, put them on the bottom and keep adding the wood on top to keep you house toasty warm. I know I'm talking about a toasty warm house in the middle of summer, but hay winter is right around the corner.
*Although this is a way to reuse phonebooks, should you go ahead and use this idea, I take NO responsibility to those who use it. When fire and life is involved please be careful, and use common since.
 |
| Phone book Log pile. |
*Although this is a way to reuse phonebooks, should you go ahead and use this idea, I take NO responsibility to those who use it. When fire and life is involved please be careful, and use common since.
Monday, May 14, 2012
Second Coop-How to
I thought I would share what we are doing to the coop so far. My husband has borrowed a saw and is taking the pallets apart and putting them back together so that they are solid wood on the front. They will then be used like plywood to make the coop this part of the work is taking several days. With the temperature in the 80's we won't work in the heat of the day.
Don't worry Daddy is standing just out of camera range, and he doesn't have power or a bit. I take good care of my little helper. You can see how we are putting together the pallets tho.
 |
| What a Cute Little Helper. |
Friday, May 11, 2012
Day 2
Day 2 of coop building and nothing is really going to get done. Our nephew was dropped of yesterday, and he does not like power tools. We have picked up some more screws which makes my husband happy and a old window that will serve as our door. Building will be put on hold in tell next week. Have a great weekend!
Saturday, May 5, 2012
Planting Pots
As promised here is my upcycled planting pots.
You will need:
Milk Jugs or 2 liter Soda Bottles
Box Cutter
Magic Marker
First empty your container and wash with hot water. I never bother with soap.
Second pick how you want to cut your container with milk jugs you have 2 options.
 I don't usually draw where I'm going to cut but so you can see your options I did on these two milk jugs.
Start cutting!


Fill with dirt, add seeds, and then label if you so choose. I like to add handles to make carrying easier, but I don't know if I'll be able to get the plants out as easy.
You will need:
Milk Jugs or 2 liter Soda Bottles
Box Cutter
Magic Marker
First empty your container and wash with hot water. I never bother with soap.
Second pick how you want to cut your container with milk jugs you have 2 options.

Start cutting!

Here they are cut and ready for you to fill with dirt.

Greenhouse Van
The story begins, with a broken van that we can't afford to fix at this point. So I figured that if it was going to sit in the yard that it needed to have a purpose. I thought it over and since I couldn't buy a greenhouse I would get the best of both worlds. This is a easy project and requires very little.
You'll need:
1 broken vehicle
Left over wood or wood flooring
Plants
First fold down the seats, and take off the headrests if they won't fit.

Next get the board or flooring and cover the gaps.


After getting my plants in I see I still have some room. So I'm off to start some more Zucchini! I'll post a simple how to on making your own planters, upcycled of course.
You'll need:
1 broken vehicle
Left over wood or wood flooring
Plants
First fold down the seats, and take off the headrests if they won't fit.
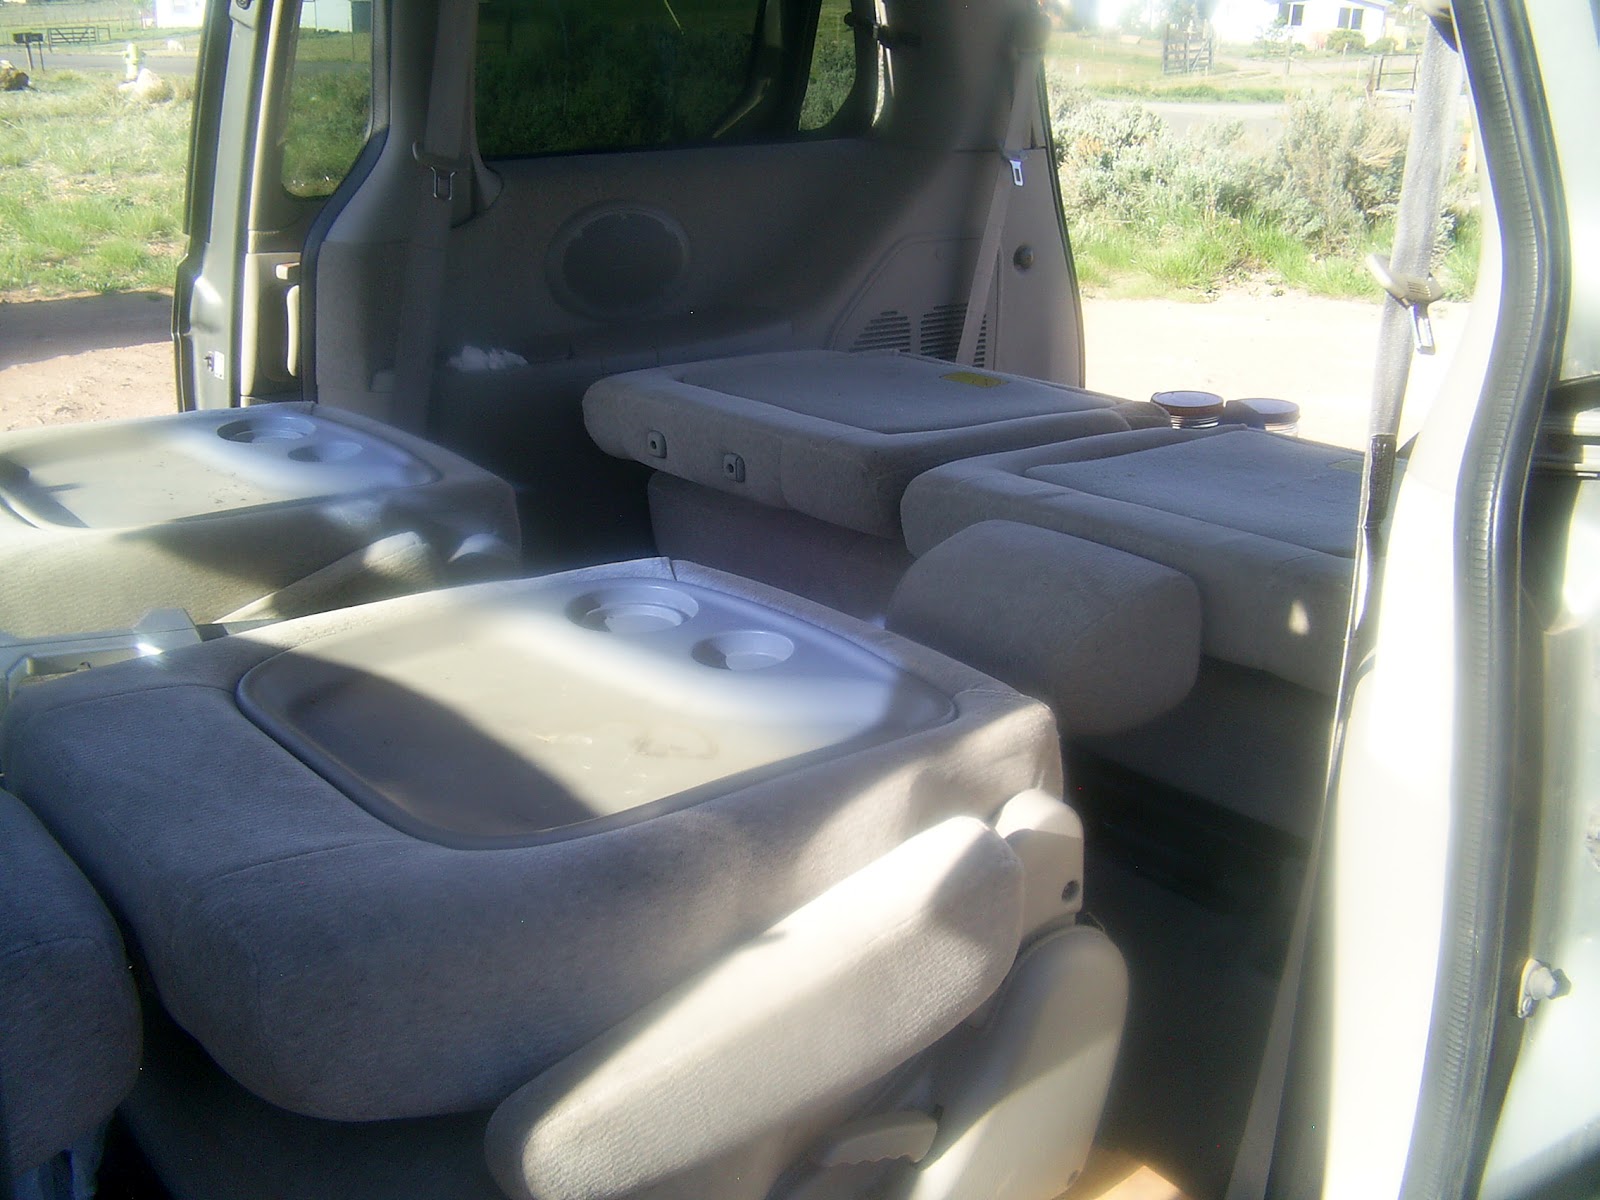
Next get the board or flooring and cover the gaps.

Here it is started.

Flooring is done.
Next add the plants

After getting my plants in I see I still have some room. So I'm off to start some more Zucchini! I'll post a simple how to on making your own planters, upcycled of course.
Subscribe to:
Posts (Atom)